Client area
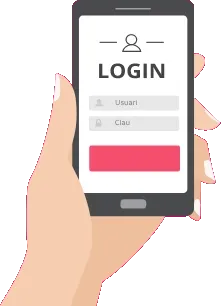
Client registration

Client area
Do you want to become an Andorra Telecom customer? Here you can register quickly and easily.
The process is very simple:
1. Complete your personal details and take a photo of your identity document.
2. Choose the service that best suits your needs.
3. Enjoy our services immediately!
You don’t need anything else. In just a few clicks, you'll become part of Andorra Telecom.
If you need assistance at any time, we're here to help. In case of doubt, you can call us for free at 115.
Better with mobile!
We recommend that you perform the process with your mobile phone and not from your computer, as the photos are usually of better quality and you will avoid resolution problems.
Remember to have any of these documents on hand:
Once the process is complete, we will send you a registration confirmation email or contact you if we need more information.
Good Lighting
Illuminate the room you are in to have a clear image that allows recognizing the characters of the document well. Be especially careful with reflections; if there are reflections in an area with text in the photograph, the document cannot be validated.
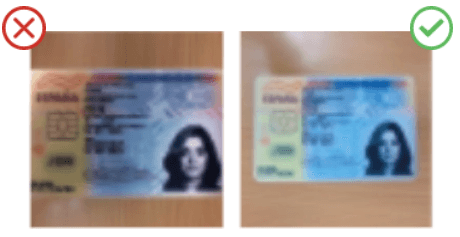
Avoid Reflections
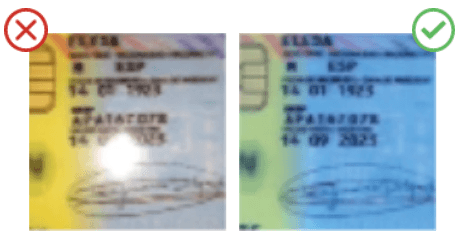
Do not use the flash on your camera or smartphone. Using it will create reflections in the image that will prevent reading the information. Also, avoid reflections from lights or ambient lights. Set your device to flash-off mode.
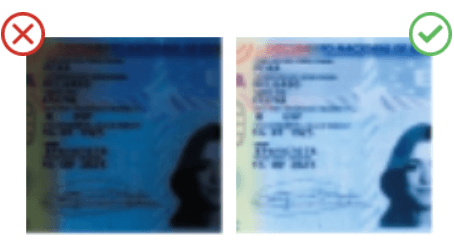
Focus and Sharpness
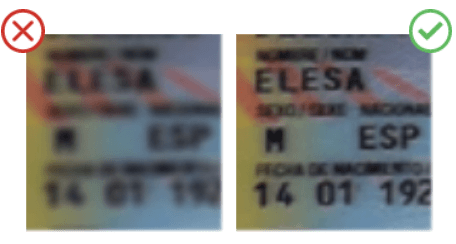
When taking the photo, make sure the image is focused and there are no blurry areas. To check, zoom in and verify that the letters are well-defined.
Angle
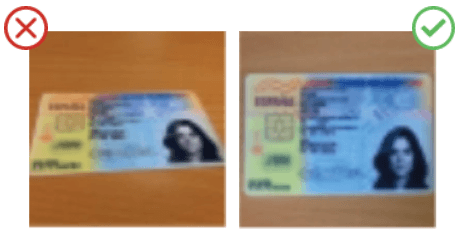
Try to take the photo as straight as possible. Position your camera or smartphone at a 90-degree angle to avoid creating perspectives that hinder reading the information.
Margins around the Document
Leave minimal space around the document to avoid cutting off the information.
Image Resolution
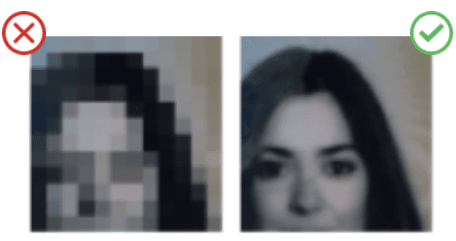
If your camera or smartphone allows you to configure the image quality, set it to the maximum. The recommendation is to send images at a resolution of 300 dpi and a size of 1420x1000 pixels.
Contrast
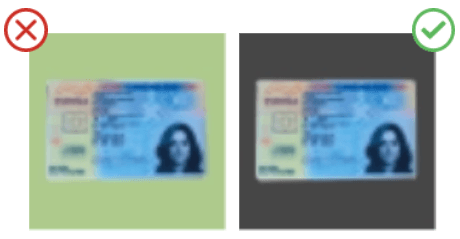
Place the document on a contrasting background to achieve better detection of the document within the photo.
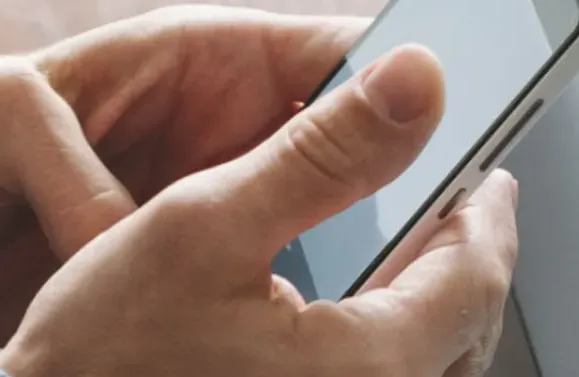
Handling
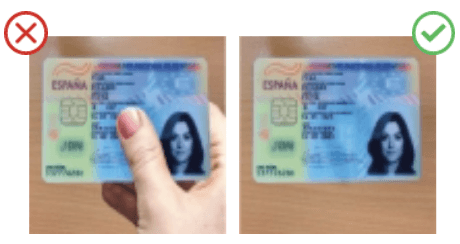
Avoid holding the document with your hands covering relevant information.